I happened across the cutest little reclaimed item this morning and thought I’d share. I now think I must run out and find an old headboard and get busy! I have several places where this little beauty would look great (and the daydreaming begins)!...Well, back to sharing the photos and instructions with you all.
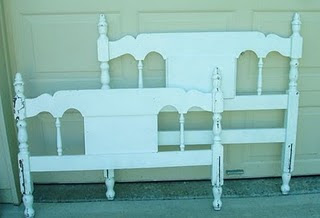
Fist we have got to find the perfect head and footboard to a twim or full size bed...
Ahh...here it is...
Then we cut it in half, like this...
Next, before you start screwing anything together, sand each of the pieces to take some of the paint off so that when you give it a finial coat of paint the wood will show through. The next step is to screw the foot board onto the headboard to create the right and left sides of the bench...like this...
I found this on here: http://judysturman.typepad.com/in_his_grip/2010/04/bed-to-front-porch-bench.html
Have a wonderful day...Hugs!


No comments:
Post a Comment